Open the event link
Participants start by opening the event link they received from the organizer. The link shows the event's candidate dates (or weekdays) and time range as a time grid. At first—before anyone has added their availability—the grid is empty, and participants fill it in with their available times one by one.
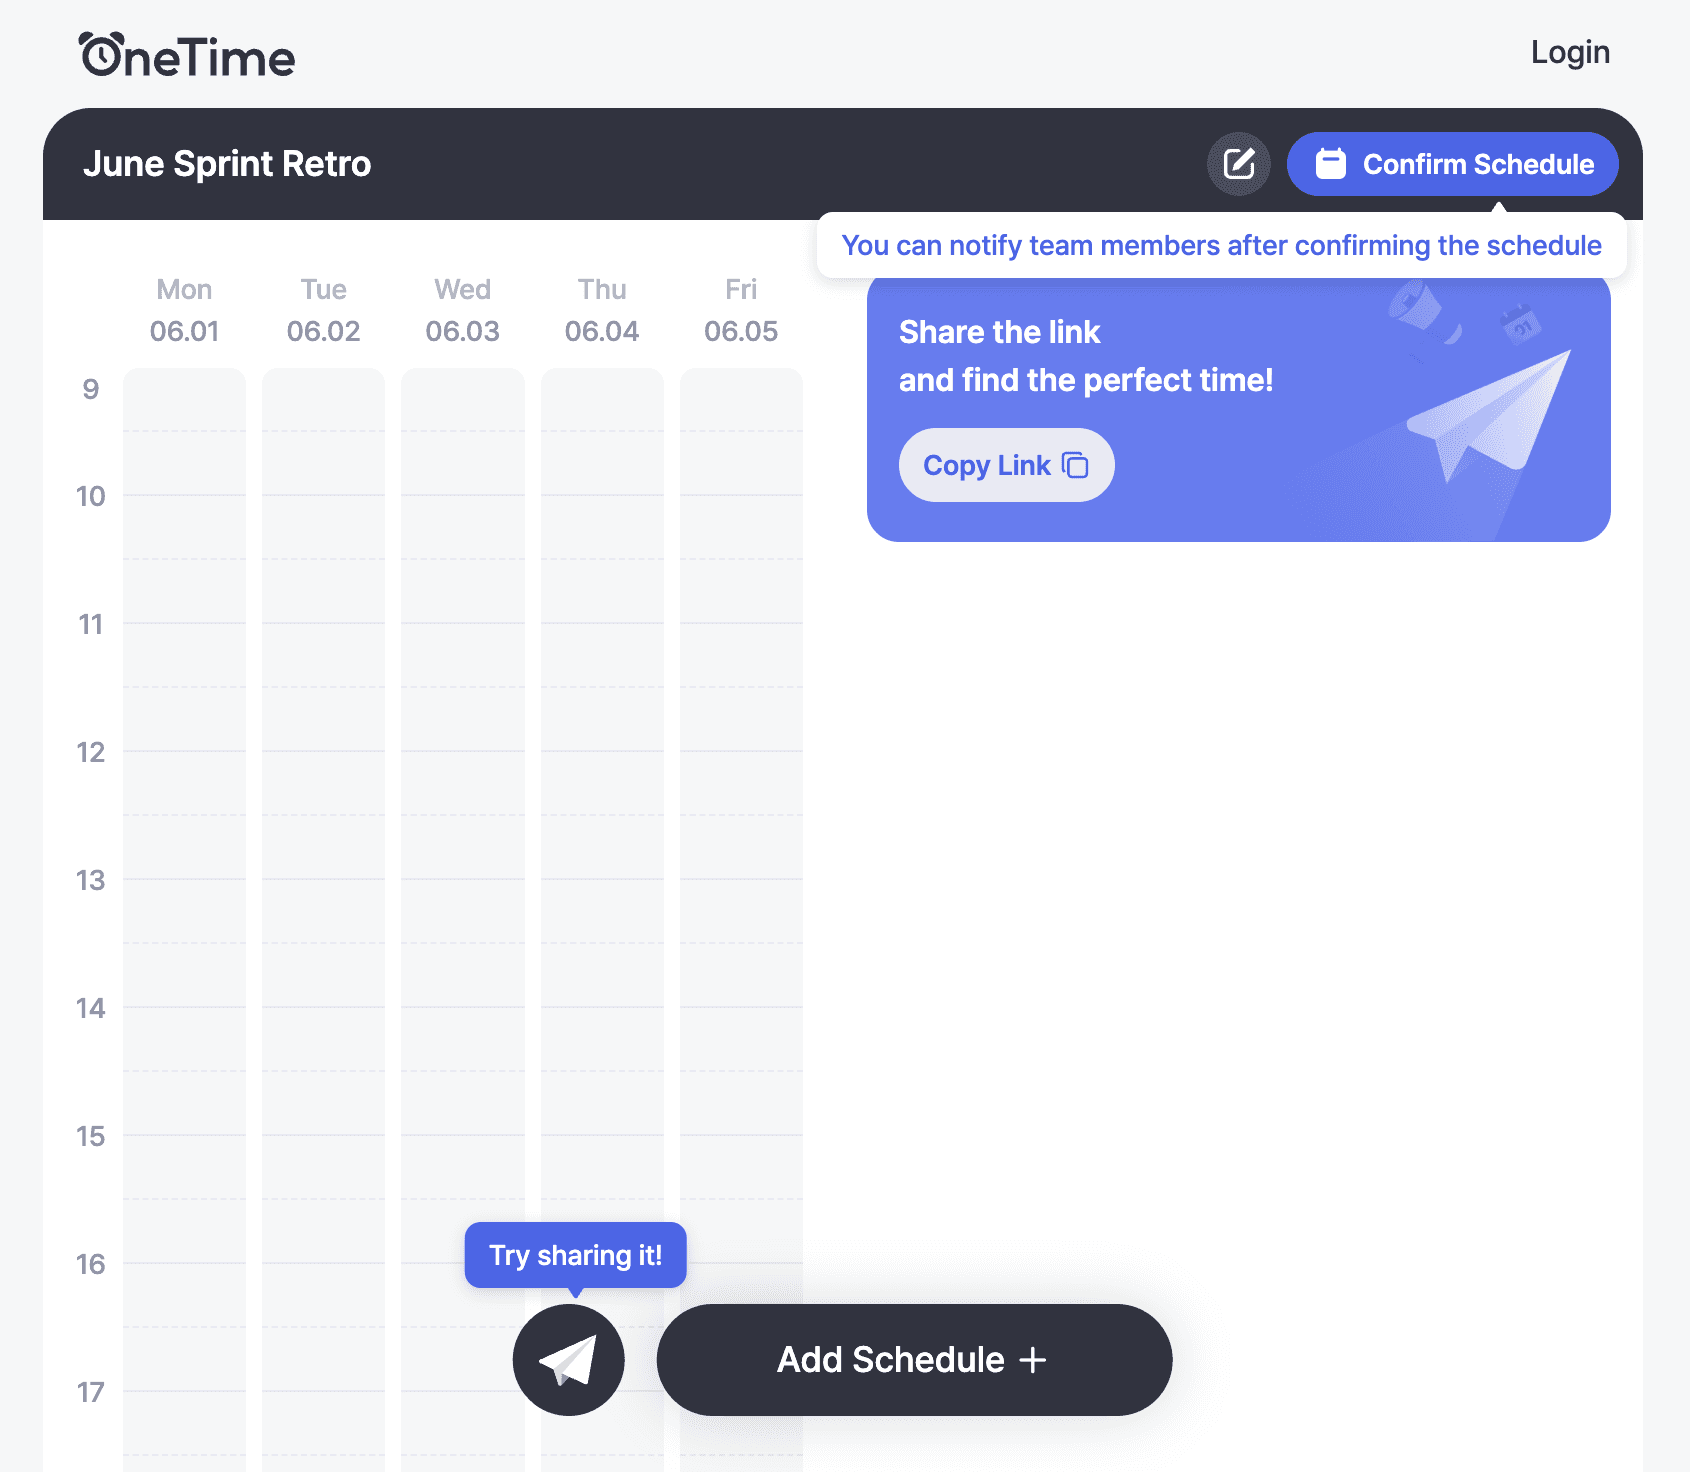
Join by logging in or as a guest
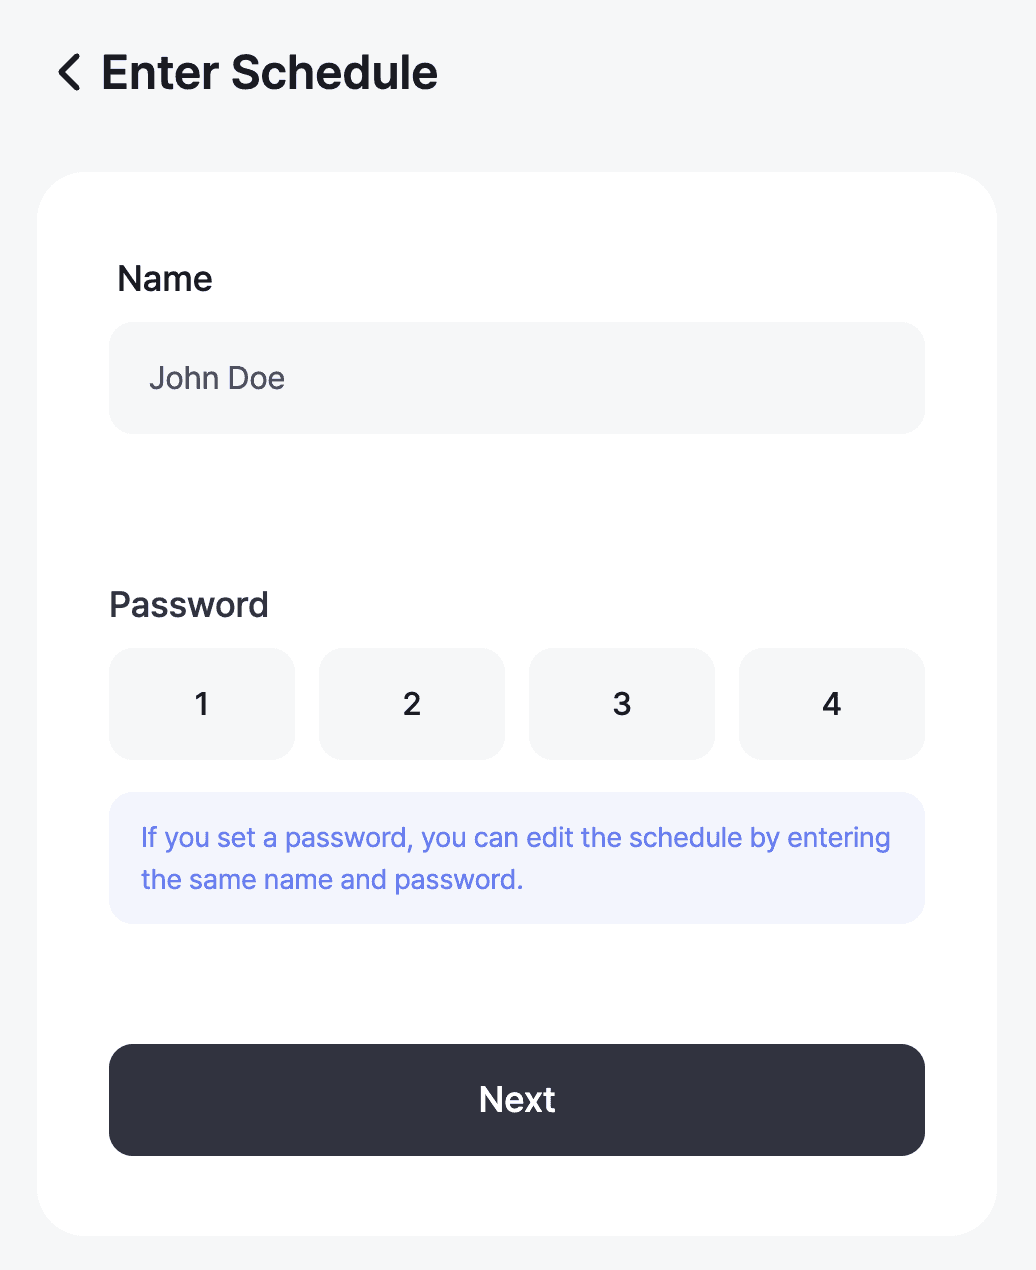
Before marking your times, you can choose one of two ways to join.
- Log in — you skip the name-and-password screen below and go straight to schedule entry.
- Join as a guest — enter your name on the screen below and jump in without logging in. Handy for a quick, one-time response.
Mark your available times on the grid
Now mark the times you are available on the grid.
- Tap a cell, or press and drag to select several cells at once.
- Scroll up, down, left, and right to see every date and time slot.
- Tap a cell again to deselect it if you picked it by mistake.
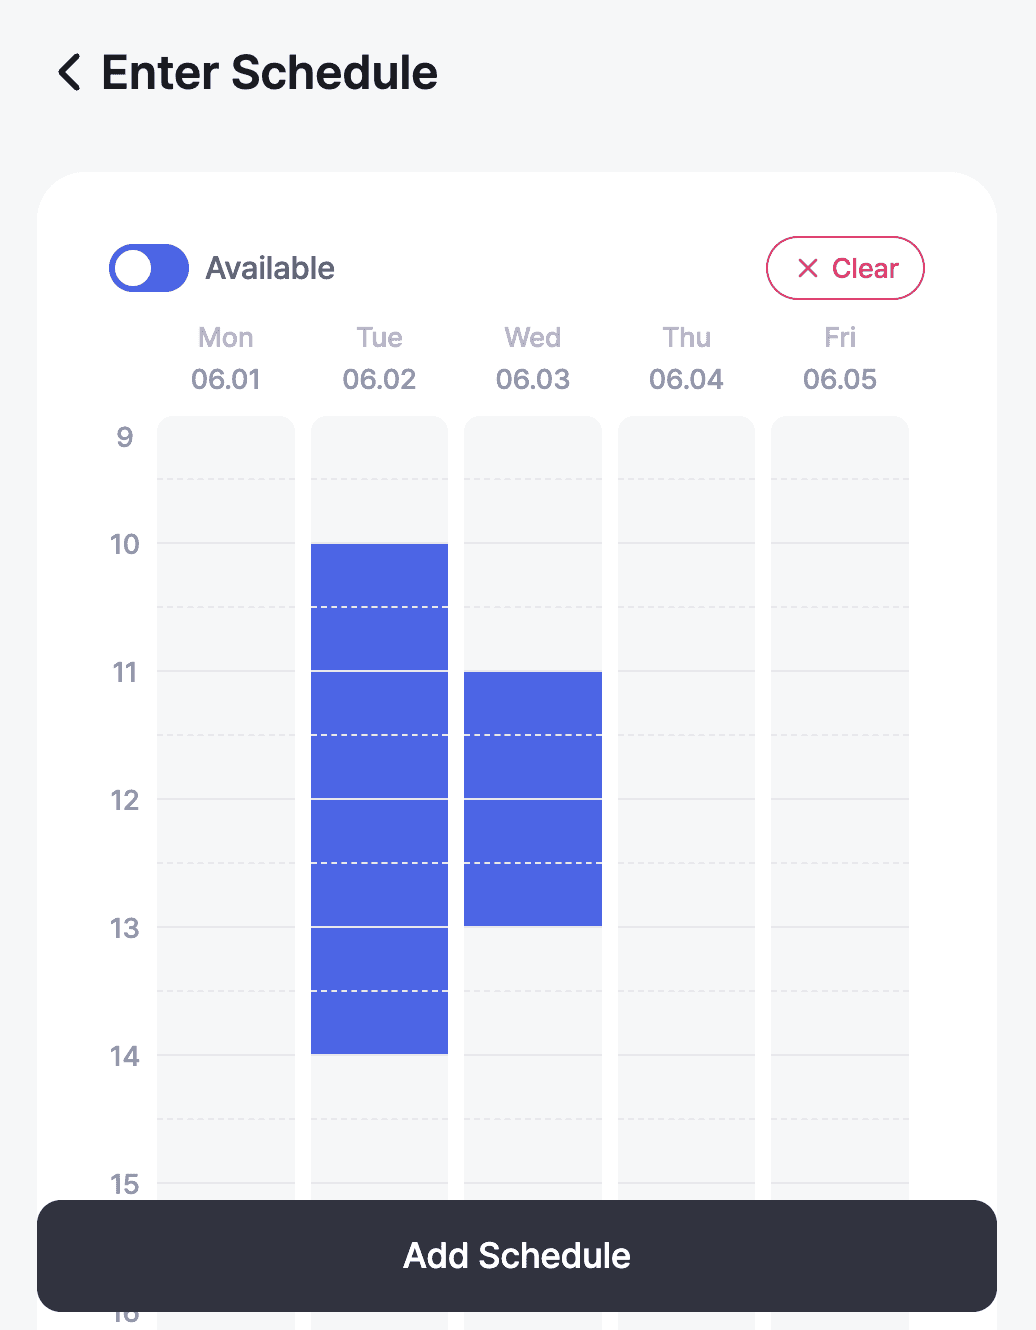
To make overlaps easier to find, mark your availability generously and only leave out the times you truly can't make. If everyone marks the bare minimum, there are fewer overlapping slots to choose from.
Save
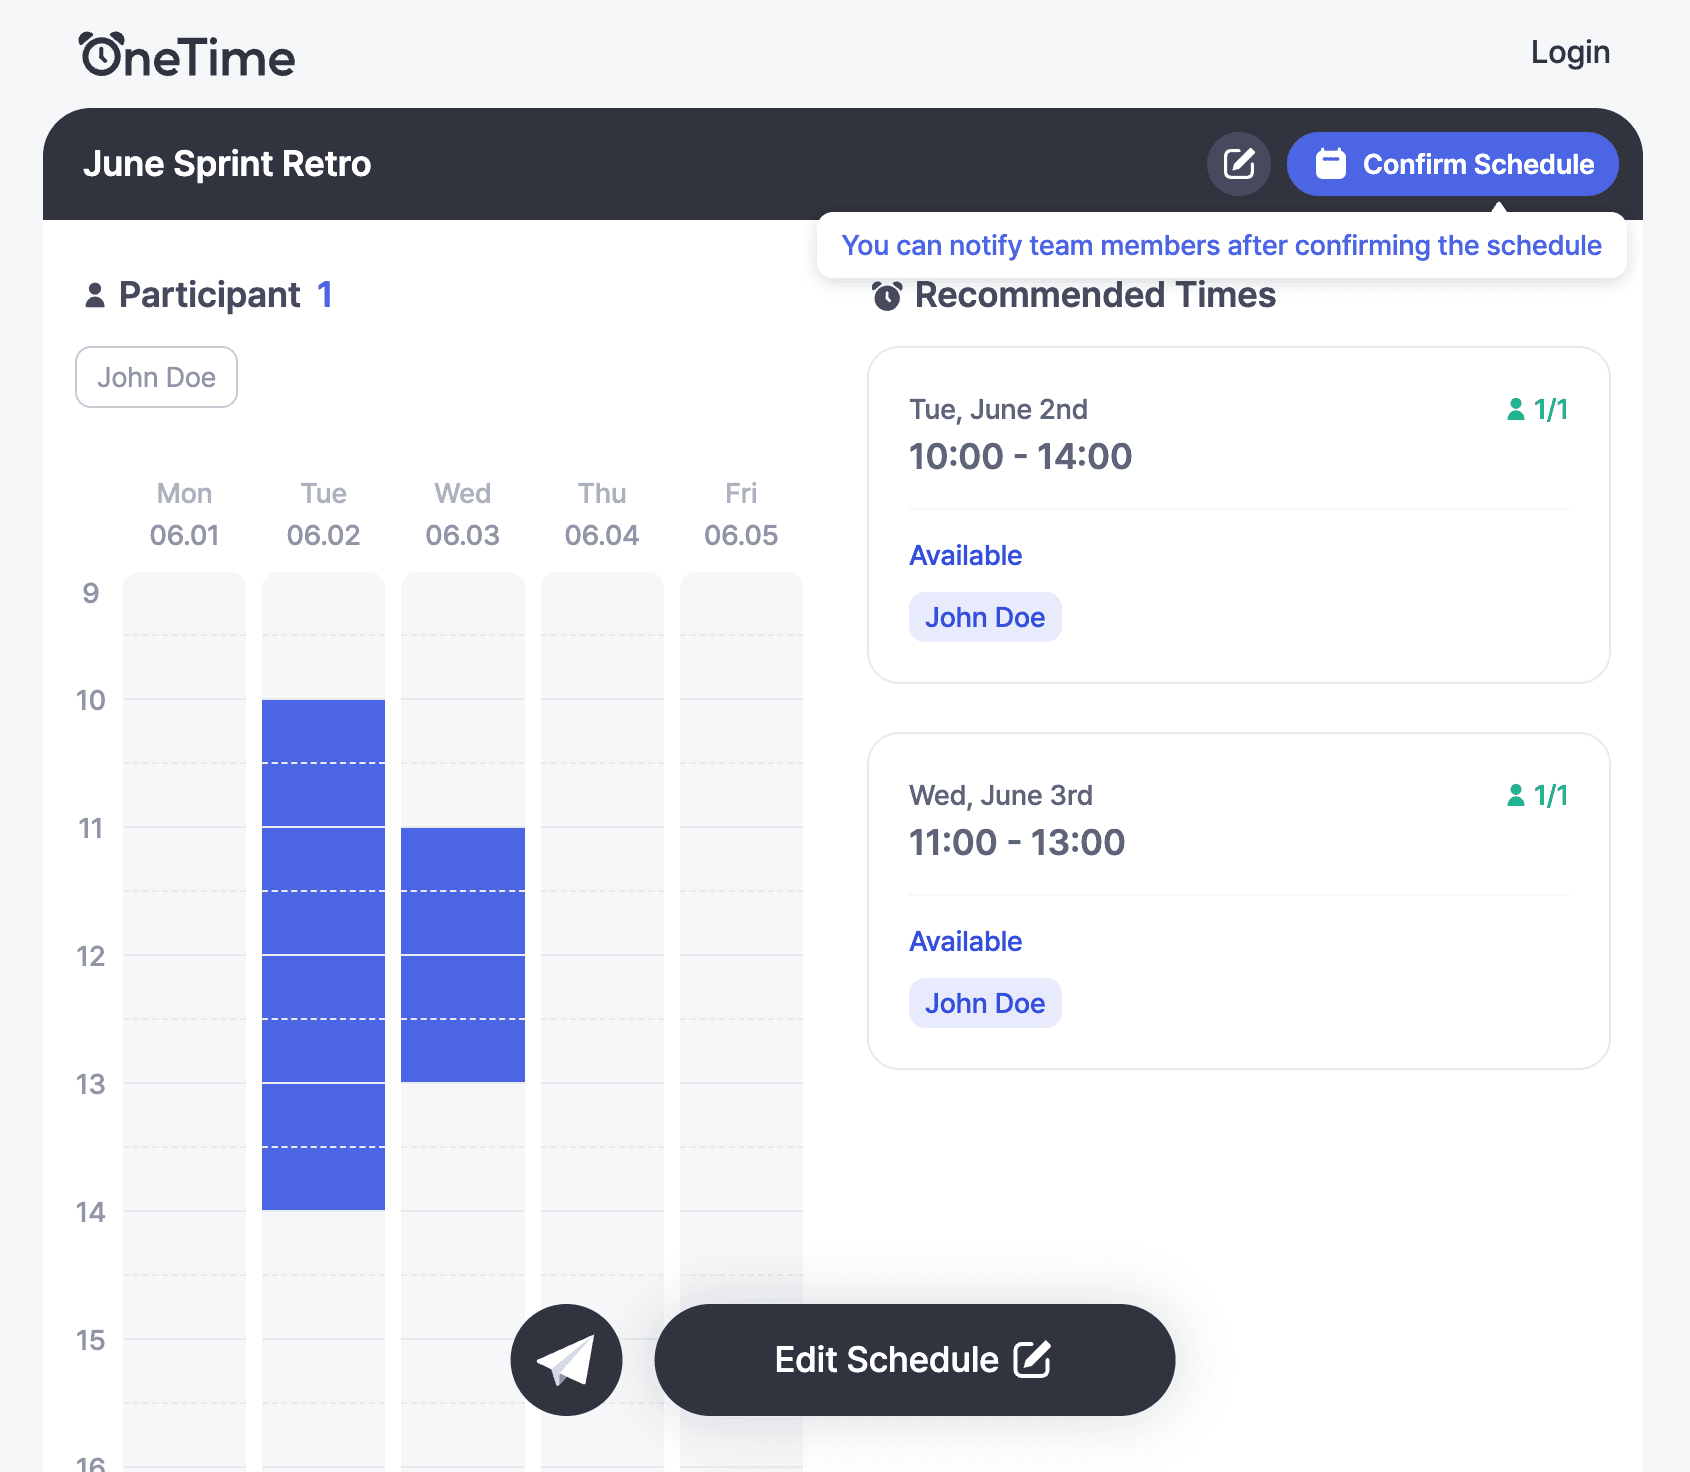
When you're done marking, save. Your times are added to the tally immediately, so the organizer and other participants can see them on the results screen. If you logged in, you can come back and edit your schedule any time.
Next step
Once participants have added their times, it's time to see who is available when. The next article covers how to read the results screen and use the recommended times feature.