Share the event
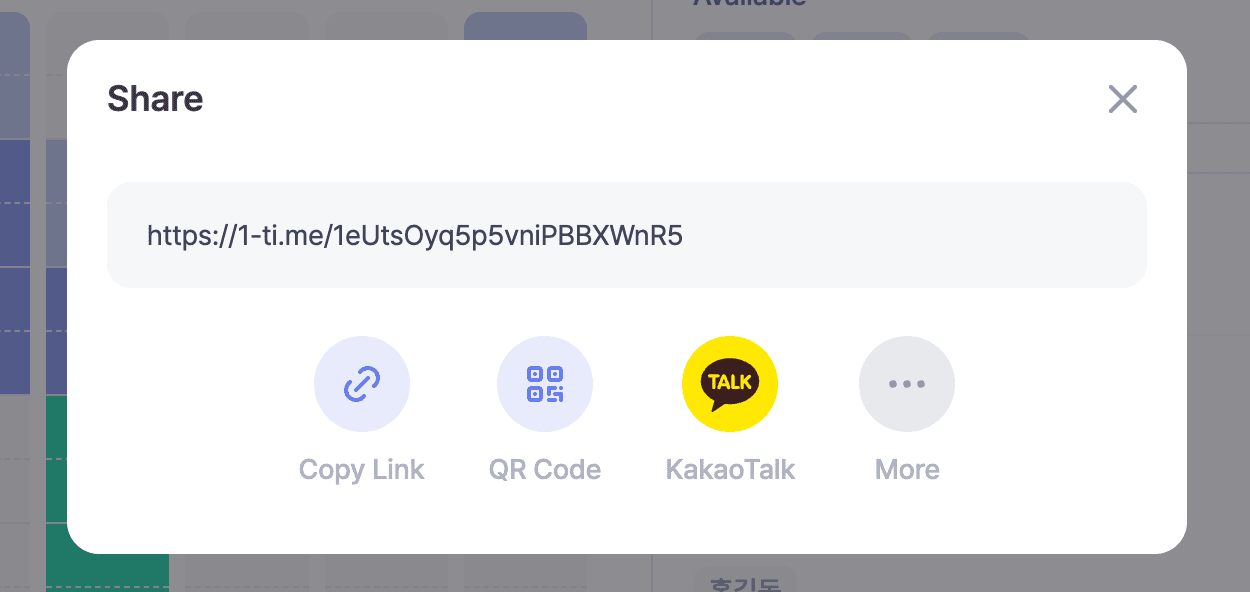
To gather participants, you need to share the event. Tap the paper-airplane button at the bottom of the event page to open the share popup, where you can share in several ways.
- Copy Link — copy the short share link and paste it into a group chat or messenger.
- QR Code — show the QR code or save it as an image to collect responses easily, even offline.
- KakaoTalk — share the event straight to KakaoTalk. A preview card is sent along with it, which helps boost response rates.
- More — open your device's built-in share sheet to send the event through other apps like messages or email.
Use whichever method is easiest to get the event in front of your participants.
Confirm the time on the confirm page
Once enough people have submitted their times and the candidates have narrowed, the organizer can confirm the final time on the confirm page. Pick a popular slot from the recommended times list on the right, or choose a date and time directly from the calendar on the left, then tap Confirm to lock it in.
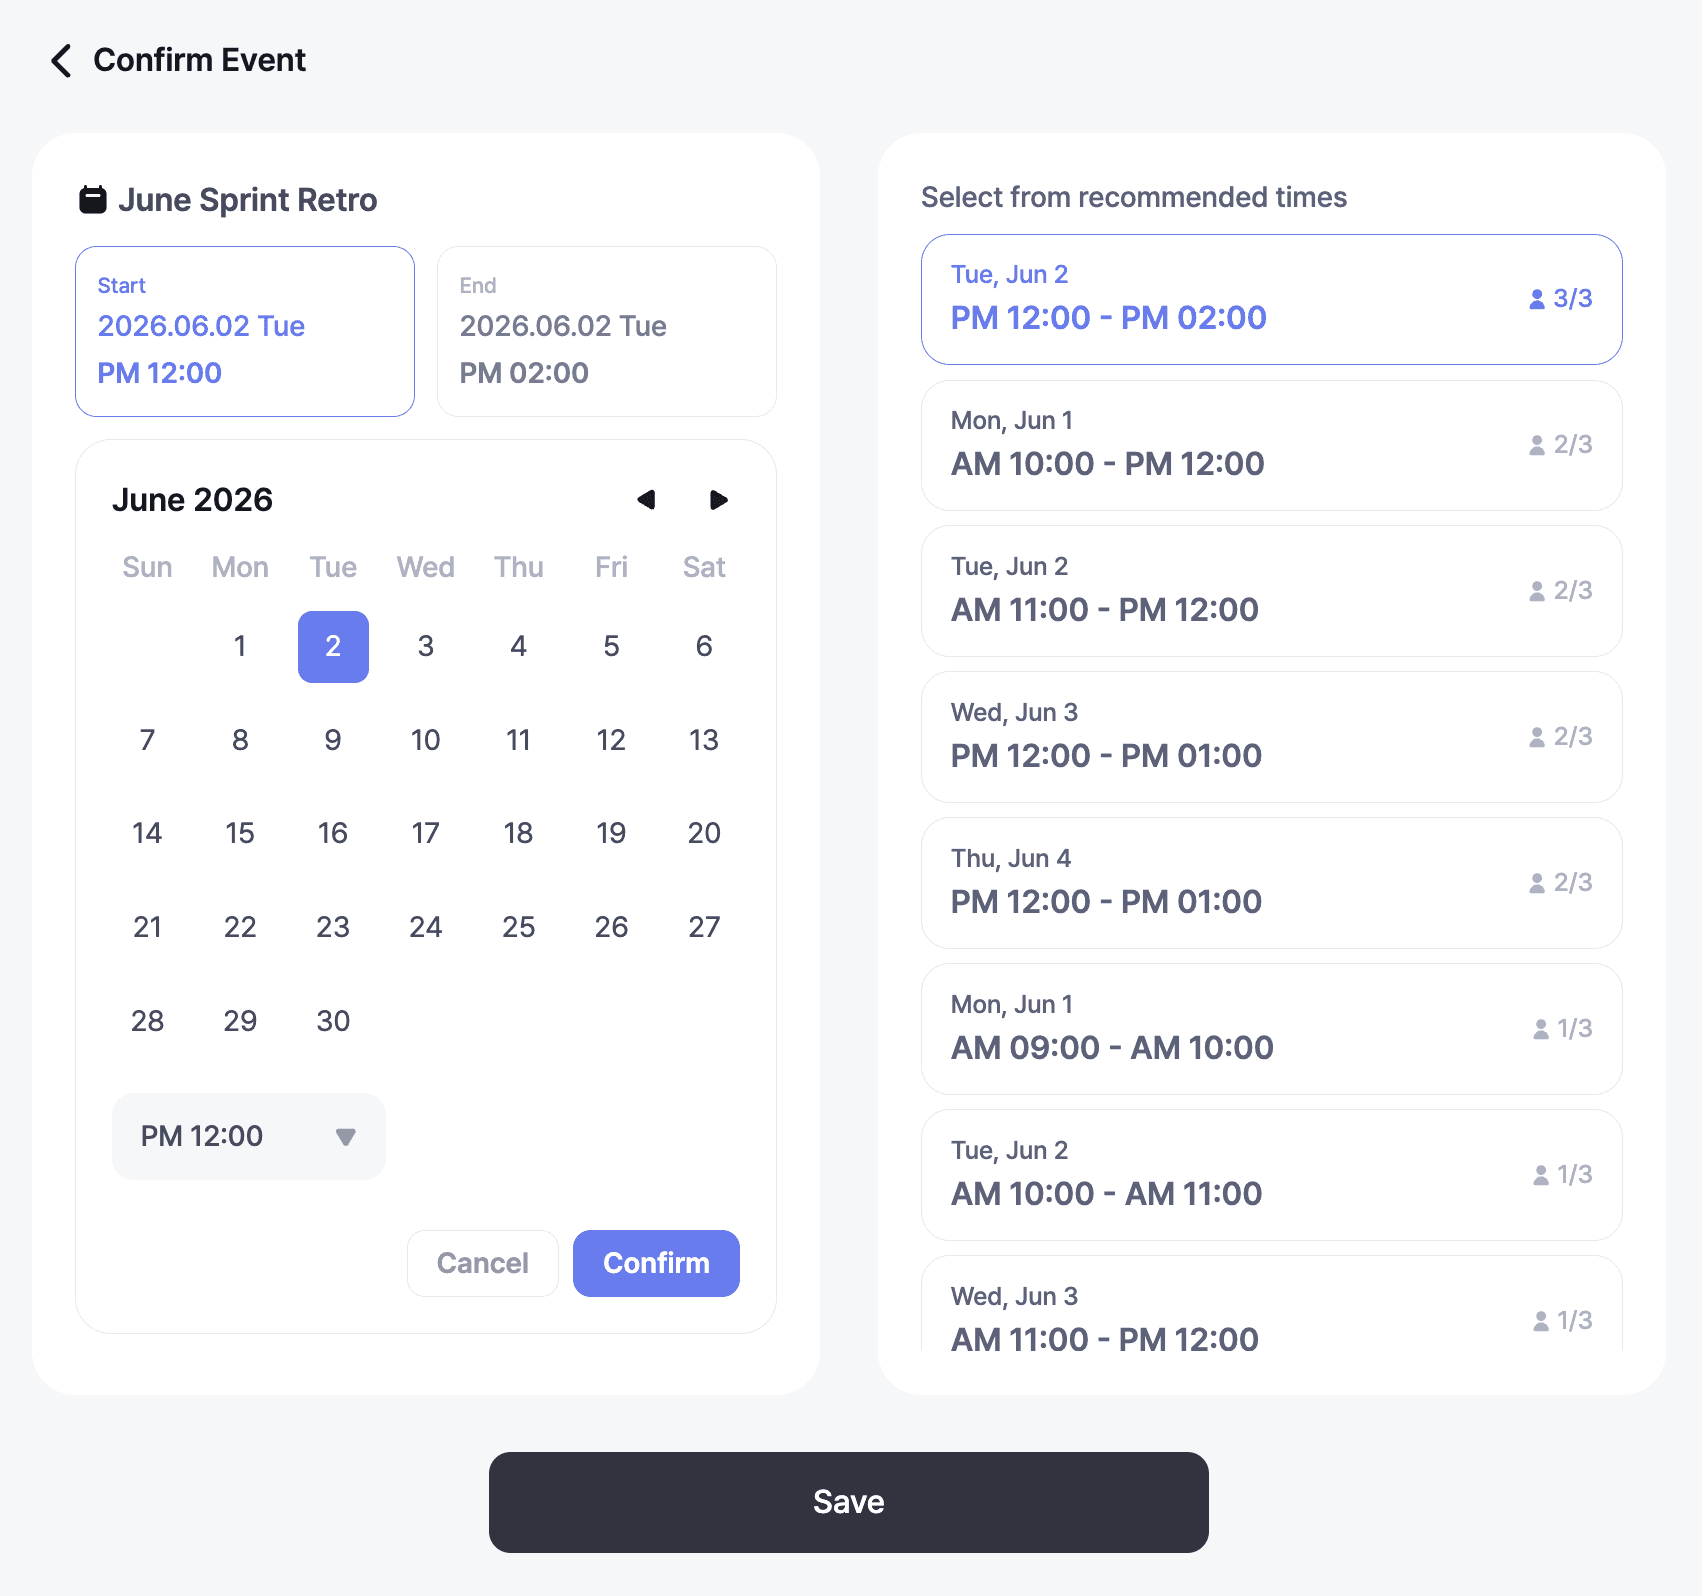
CautionOnce you confirm a time, you can't revert to the unconfirmed state. After confirming, participants can no longer submit or edit their availability, so make sure enough people have responded before you confirm.
Check the confirmed schedule
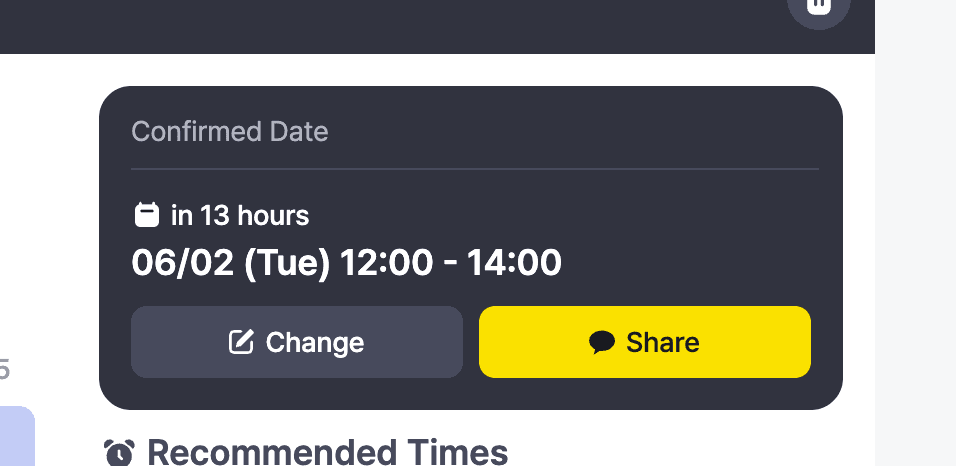
Once confirmed, the event status changes to "Confirmed" and a confirmed schedule card appears on the event detail screen. The card shows the locked-in date and time along with how long until the event, and below it are Change and Share buttons. Change takes you back to the confirm page to adjust the time, while Share lets you notify participants of the confirmation right away.
Add it to your KakaoTalk Calendar
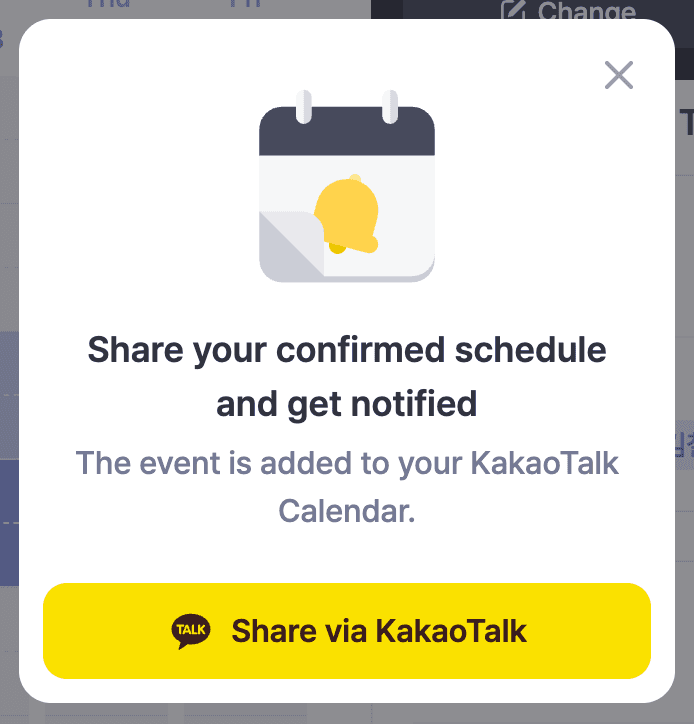
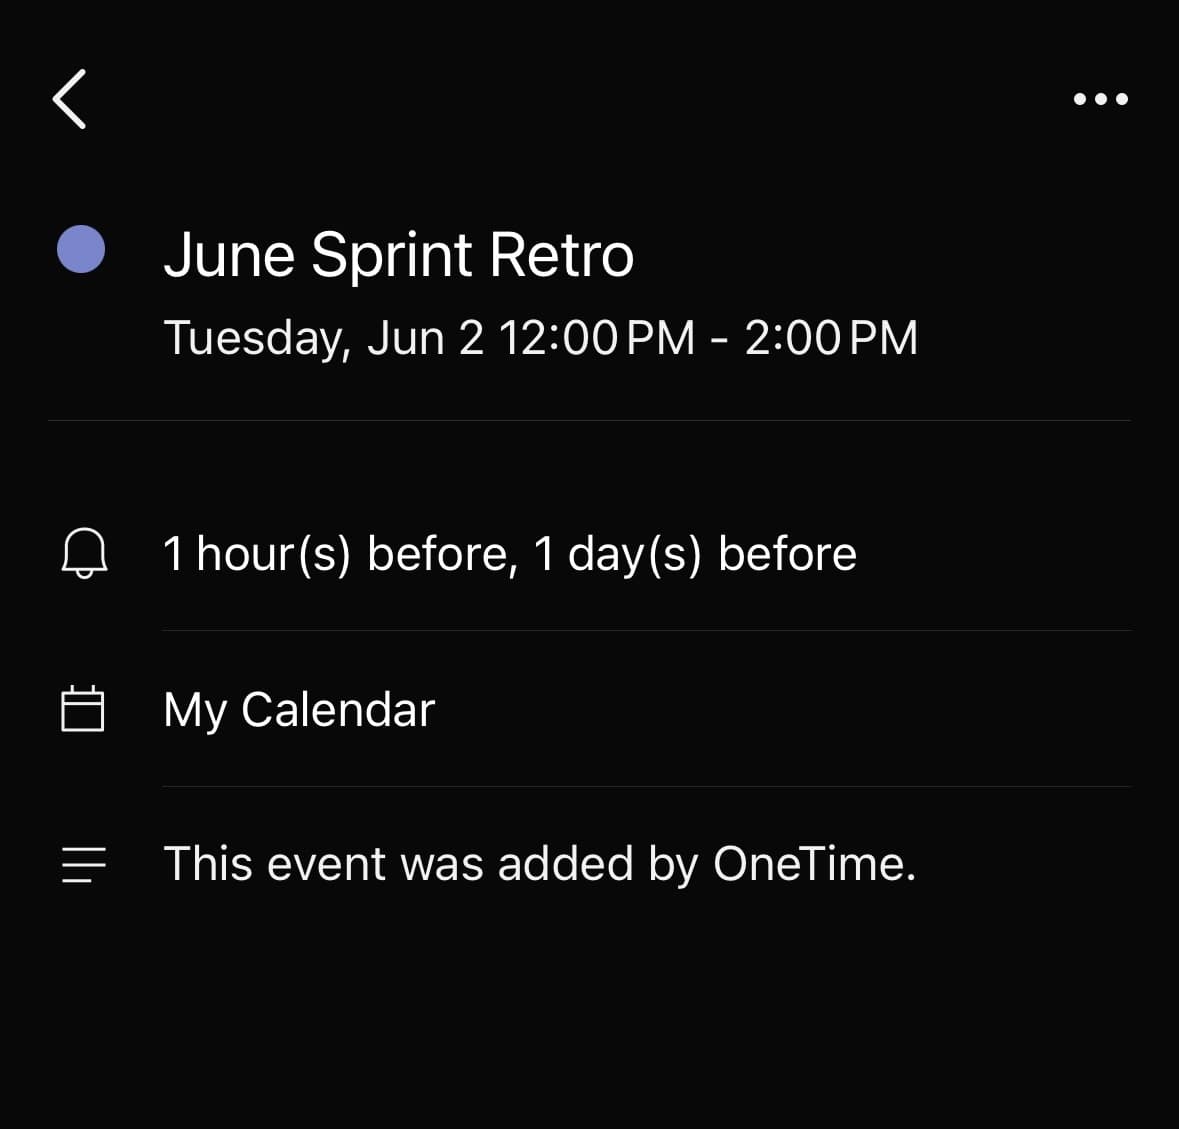
Tapping Share on the confirmed schedule card opens the KakaoTalk Calendar popup, and tapping Share via KakaoTalk adds the event to your KakaoTalk Calendar. Adding it to the calendar lets participants receive reminders, so there's less chance of anyone forgetting, and you can find the added event under KakaoTalk > More > Calendar.
Wrapping up
If you've followed along this far, you can now coordinate a meeting from start to finish with OneTime. You've learned the full flow: creating an event, sharing it, finding a time that works for everyone, and confirming it.
If you coordinate meetings often, see the next section—My Schedule—to skip re-entering your times for every event. You can also browse the finished example events.