Open the event creation screen
Coordinating with OneTime starts by creating an event. From the home screen, tap Create Event to open the creation screen. No sign-up is required, but logging in saves the event to your account so it's easy to find again later.
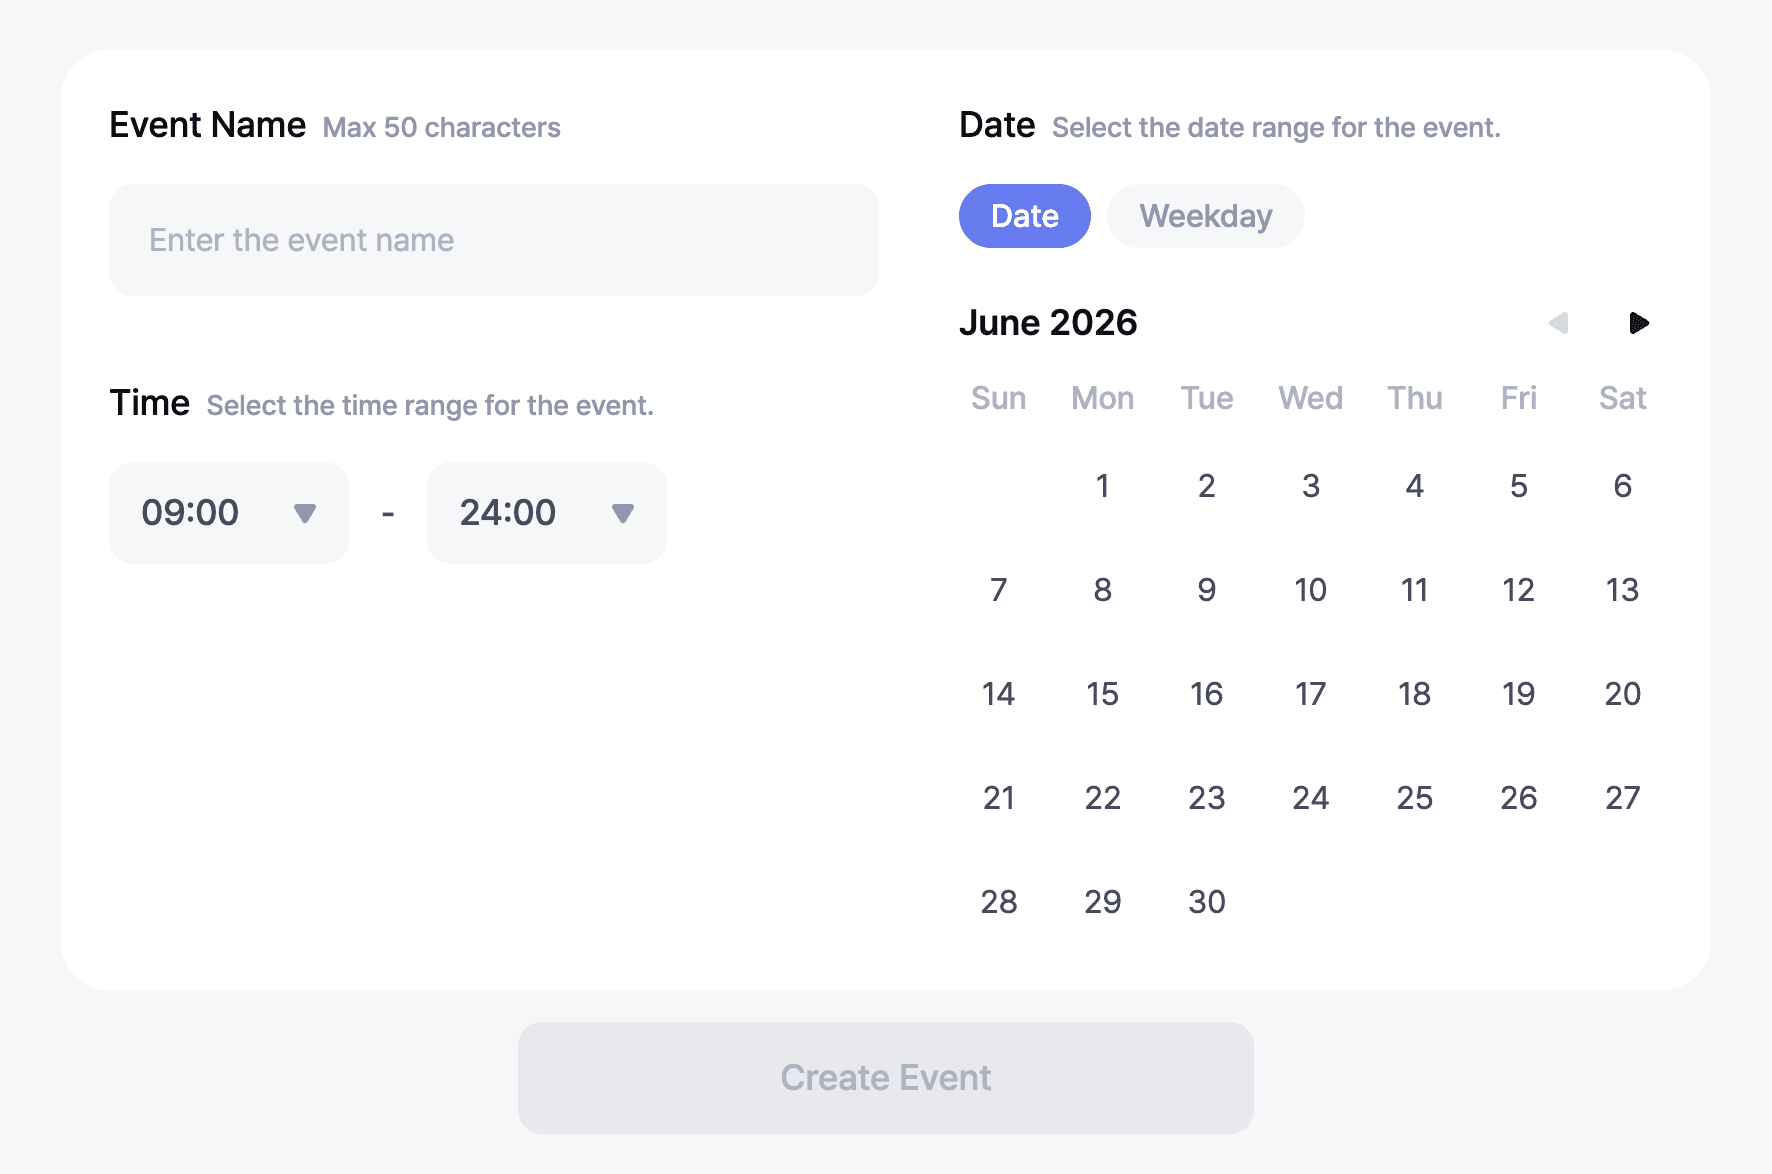
1. Enter the event name
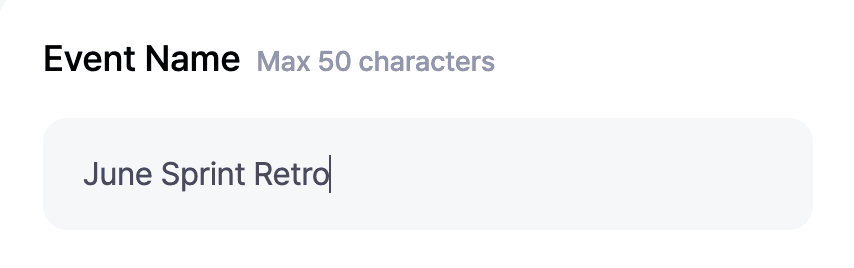
Start with the event name. Make it specific so participants instantly know what it's about (e.g., "June Sprint Retro", "Club Monthly Meetup"). The name can be up to 50 characters.
2. Choose dates or weekdays
Next, set the candidate range. OneTime supports two modes.
- Date — use specific dates as candidates, like "May 19 – May 23". Best for one-off meetings.
- Weekday — use days of the week as candidates, like "Mon / Wed / Fri". Best for recurring meetings or when no concrete date is fixed yet.
Pick the mode that fits, then select the candidate dates or weekdays.
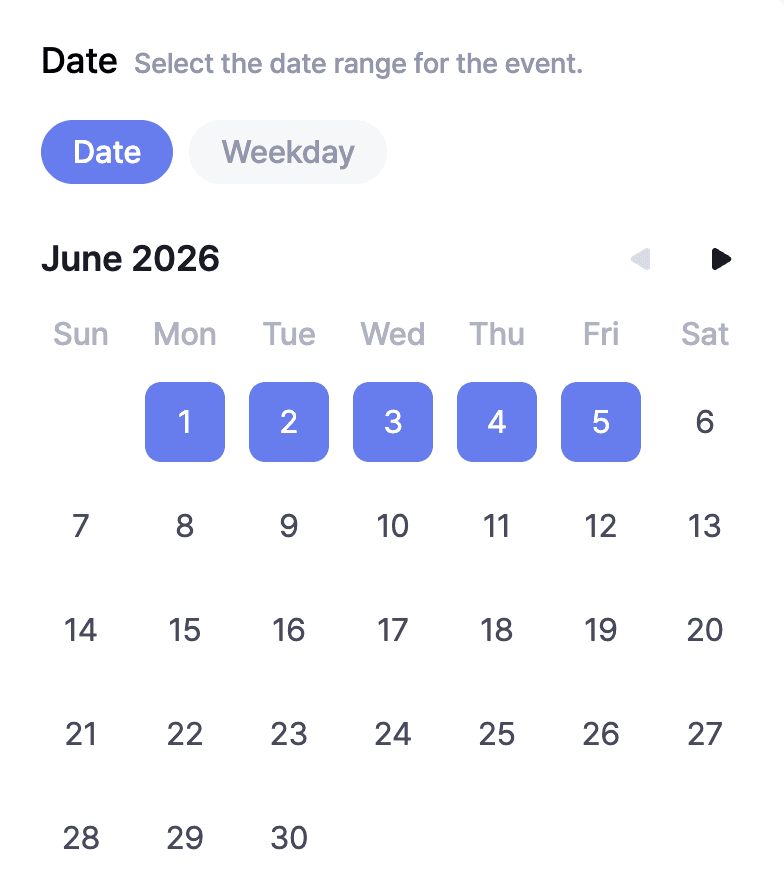
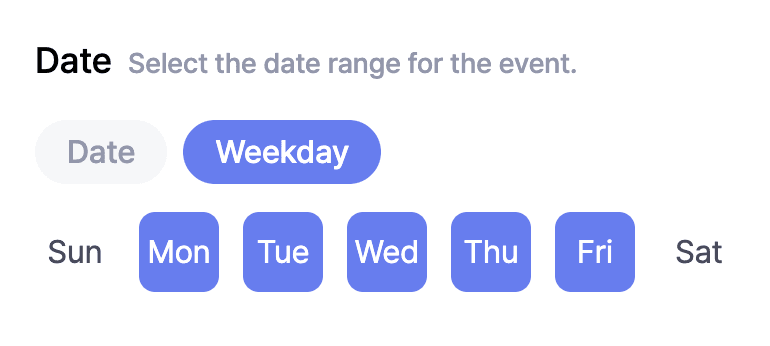
Tipchoose Date for a one-time event, and Weekday for a meeting that repeats every week.
3. Set the time range
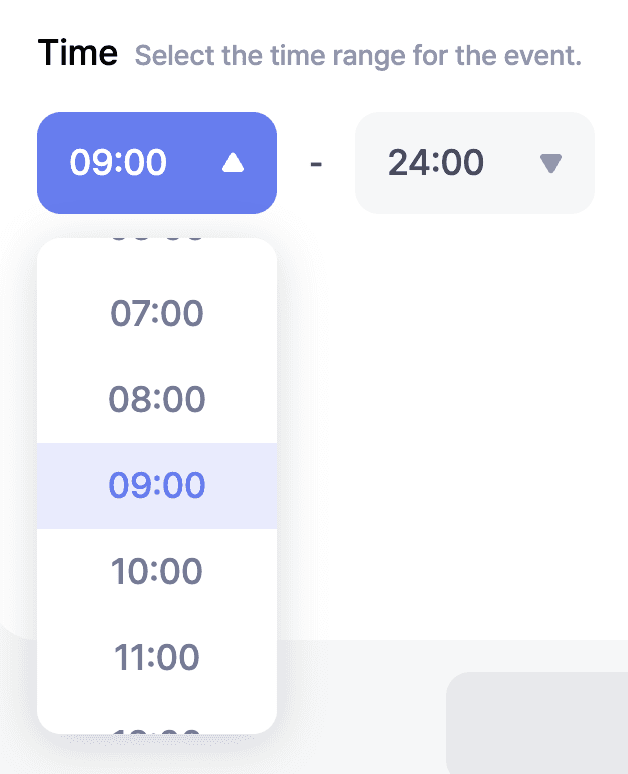
Finally, set the candidate time range. Participants will mark their availability within this window. Leave it as 00:00 – 24:00 to keep the whole day open, or narrow it to business hours such as 09:00 – 18:00. A tighter range makes it easier for participants to fill in their times.
4. Finish creating the event
Once everything is set, tap Create Event. The event is created and you're taken to its shareable event page. The link to this page is exactly what you'll send to participants.
Next step
Now it's time for participants to add their availability to the event. The next article covers how to mark your times.