It loads automatically when you join
When you open an event's schedule entry screen while logged in, the My Schedule you set up is applied automatically. The free time left after subtracting your sleep hours and weekly fixed commitments is pre-marked as available, and a "Loaded your schedule" notice appears. No more painting an empty grid from scratch every time.
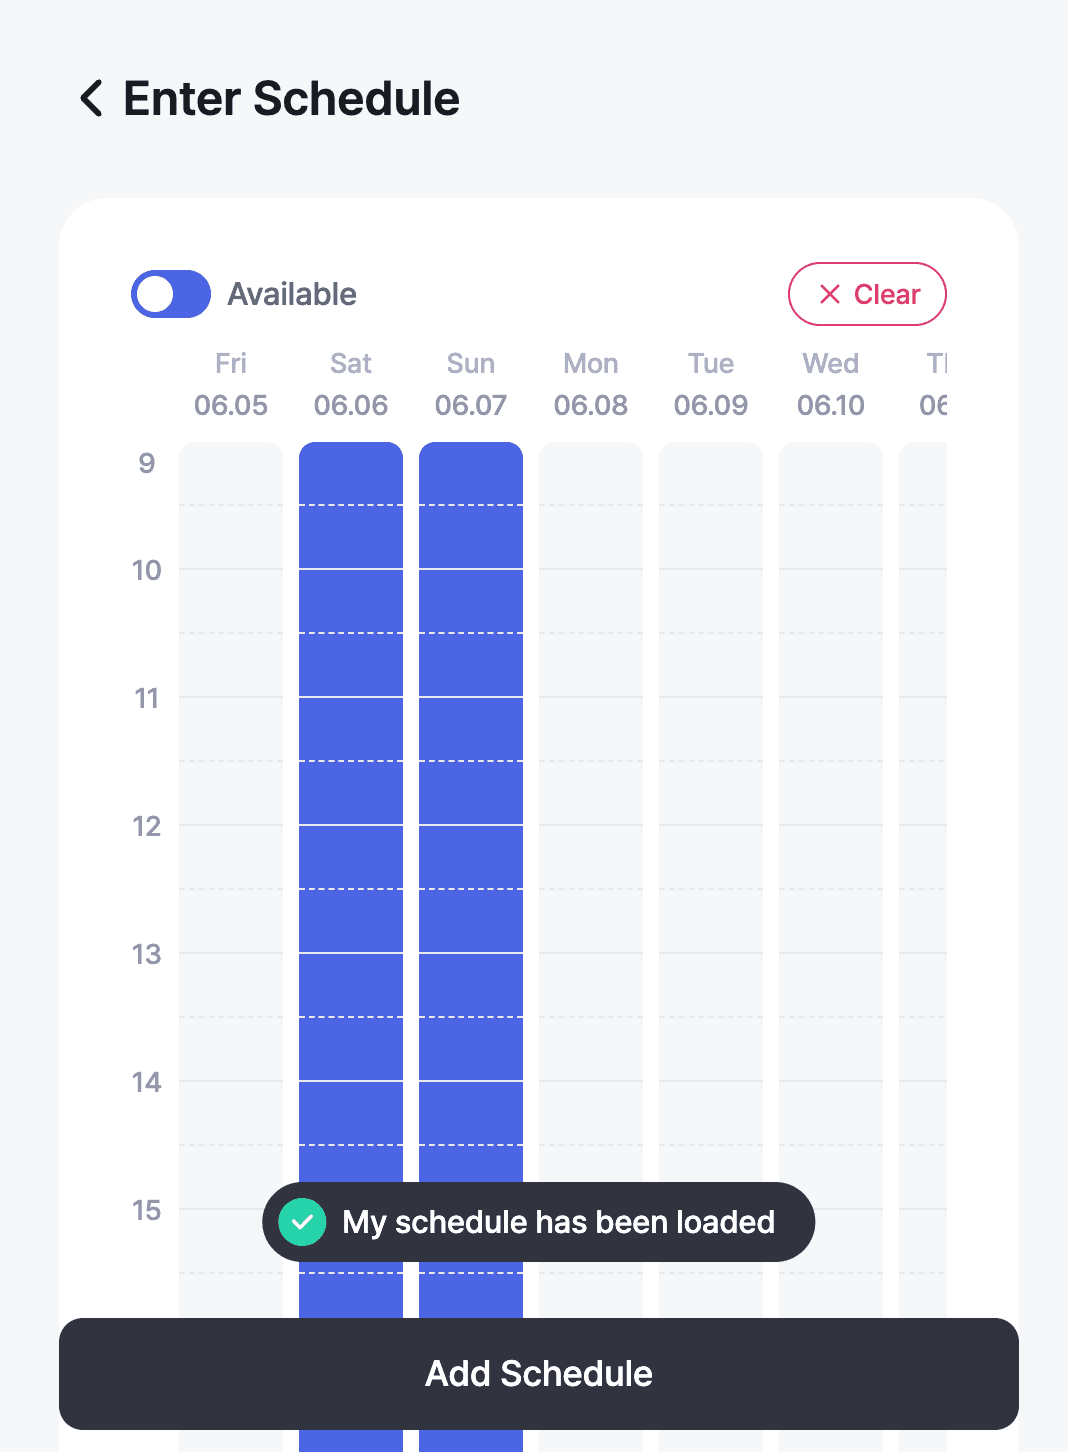
Fine-tune what was loaded
The pre-marked times are just a starting point. From there, freely add or remove anything that differs from your usual routine. Turn on a slot you happen to be free this week, or a normally-busy slot you can make this time, then save.
TipThe longer the event's candidate range, the more the auto-fill helps. With My Schedule set up once, even a long grid takes only a few touch-ups.
When does it load?
Two conditions apply to the automatic fill.
- Logged in — My Schedule is saved to your account, so it doesn't apply when you join as a guest.
- On your first entry — if you've already submitted availability for this event, your previous entry is shown as-is instead of the auto-fill, to preserve what you saved.
Wrapping up
If you've followed along this far, you've learned the full flow of setting up My Schedule and using it in events. Register your recurring commitments once, and you'll be able to mark your availability far faster in every meeting you join.